Repairs · Mount Dennis
Garage Door Perimeter Weatherstrip in Mount Dennis
A length of weatherstrip along the right jamb has pulled away, nails and all, and it slaps against the trim every time the wind picks up. The wood behind it is dark and soft where it meets the floor.
Garage Door Perimeter Weatherstrip
In plain words
Around a garage door there are three seals: one on the bottom edge of the door, and two running up the sides and across the top of the opening. Those last two are the perimeter weatherstrip. They are fixed to the stop moulding on the jambs and header, and their flexible fin rests against the door face when it is closed, closing the gap between door and frame. Replacing them means fitting new lengths that meet the door evenly, cutting down how much wind, driven snow, dust, leaves and small animals get through. The bottom seal is handled as its own job, but the two are often done together.
How the visit goesWith the door closed and the garage lights off, a thin bright line runs down the whole left side of the opening. You can see the neighbour's fence through it. The strip that should close that gap has shrunk back from the door.
Mount Dennis
How the visit goes
How the door sits in the opening
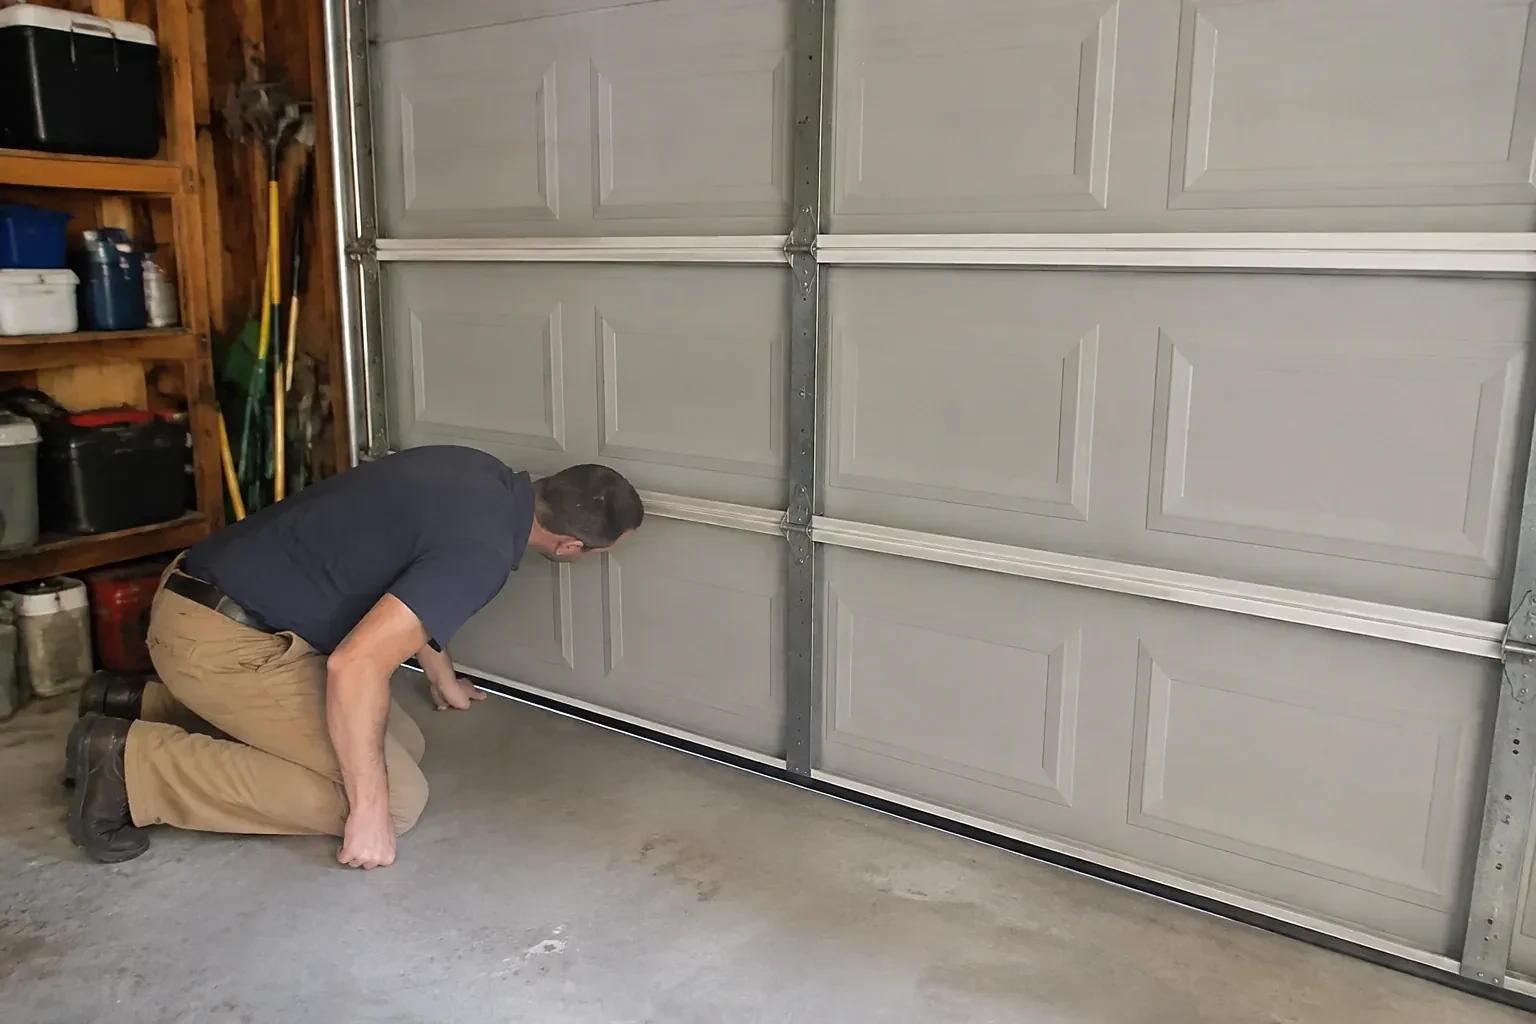
A perimeter seal can only follow a door that sits where the frame expects it, so the door is checked before any strip is ordered or cut. Each edge is checked for plumb, the gap to both jambs is compared, and the top section is watched as it meets the header to see whether it bows away or leans in. Rollers, hinges and the spacing of the vertical tracks are looked at because any of them can shift the door face toward one jamb and away from the other. Small corrections, such as re-setting a track bracket, are noted so the new seal is fitted to a door that closes square and stays that way.
Fitting the sides and closing the corners
Each side length is cut to run from tight under the header piece down to the floor, with a little spare to trim in place. It is set with the same light contact as the header and fastened top to bottom. At the top corner, the side fin tucks under the header fin so they overlap, leaving no square hole for drafts or mice. At the floor the side is trimmed to meet the bottom seal on the door, so the seal is continuous around three sides and hands off to the fourth. Both sides are done the same way, checking the door edge gap as they go.
If the door changes, the seal is re-checked
The seal was set against the door as it sits today. If the door is later adjusted, has its springs or rollers replaced, or is swapped for a new one, the contact can change: a door that now sits a few millimetres further out presses the fin harder, and one that sits further in leaves a gap. After any such work, do the daylight test again and ask the technician doing that job to check the perimeter seal while they are there. Re-setting a length is a small task and keeps the two parts of the system working together.
Garage Door Perimeter Weatherstrip
In the van
- Exterior screws and weatherproof staples
- Utility knife and mitre saw
- Aluminum retainer and rubber insert
- Galvanized or stainless trim nails
- Vinyl stop moulding with integral seal
What affects the quote
Same fees day, night or weekend
1Working height and access
A tall header, a sloped driveway that makes a ladder awkward, shrubs against the jambs or cars and storage close to the door all affect how long the work takes.
2Adding a brush or foam seal to the sides as well as the stop
Some households want only the top and side stop replaced, while others add a brush or foam seal along the same run for a tighter fit against wind-driven snow. That extra material and the time to fit it are agreed before the old stop comes off.
3Removing the old stop and paint build-up
Lifting a wood stop that has been painted for decades, scraping old adhesive and knocking down paint ridges takes longer than pulling a loose fin, and the time shows in the quote.
Garage Door Perimeter Weatherstrip: questions
Can I paint the new seal to match my trim?
Paint the rigid parts only. A wood stop can be painted before the fin is fitted or with the fin masked, and a vinyl stop needs no paint at all. The flexible fin is left bare, because paint fills it and stiffens it, and a stiff fin cracks well before its time once cold weather sets in. Seals come in a range of colours so the fin can match the trim without a brush.
How should I look after the new seal?
Four times a year, check for daylight from inside with the lights off and press the fin to feel that it is still soft. Wipe the seal with a damp cloth to clear grit and salt, keep paint off the fin, apply a silicone wipe before winter, and keep slush and bins away from the bottom of the jambs. Press any lifted corner back and call if a length has come loose.
How is the seal fastened to the frame?
A flexible fin is nailed or stapled to the face of the wood stop with galvanized or stainless fasteners spaced evenly along its length; a one-piece vinyl stop is nailed or screwed through its rigid edge into the jamb and header. Fasteners go into sound wood, heads are set flush without crushing the vinyl, and the joint between stop and trim is caulked where water could get behind.
Repair & Maintenance
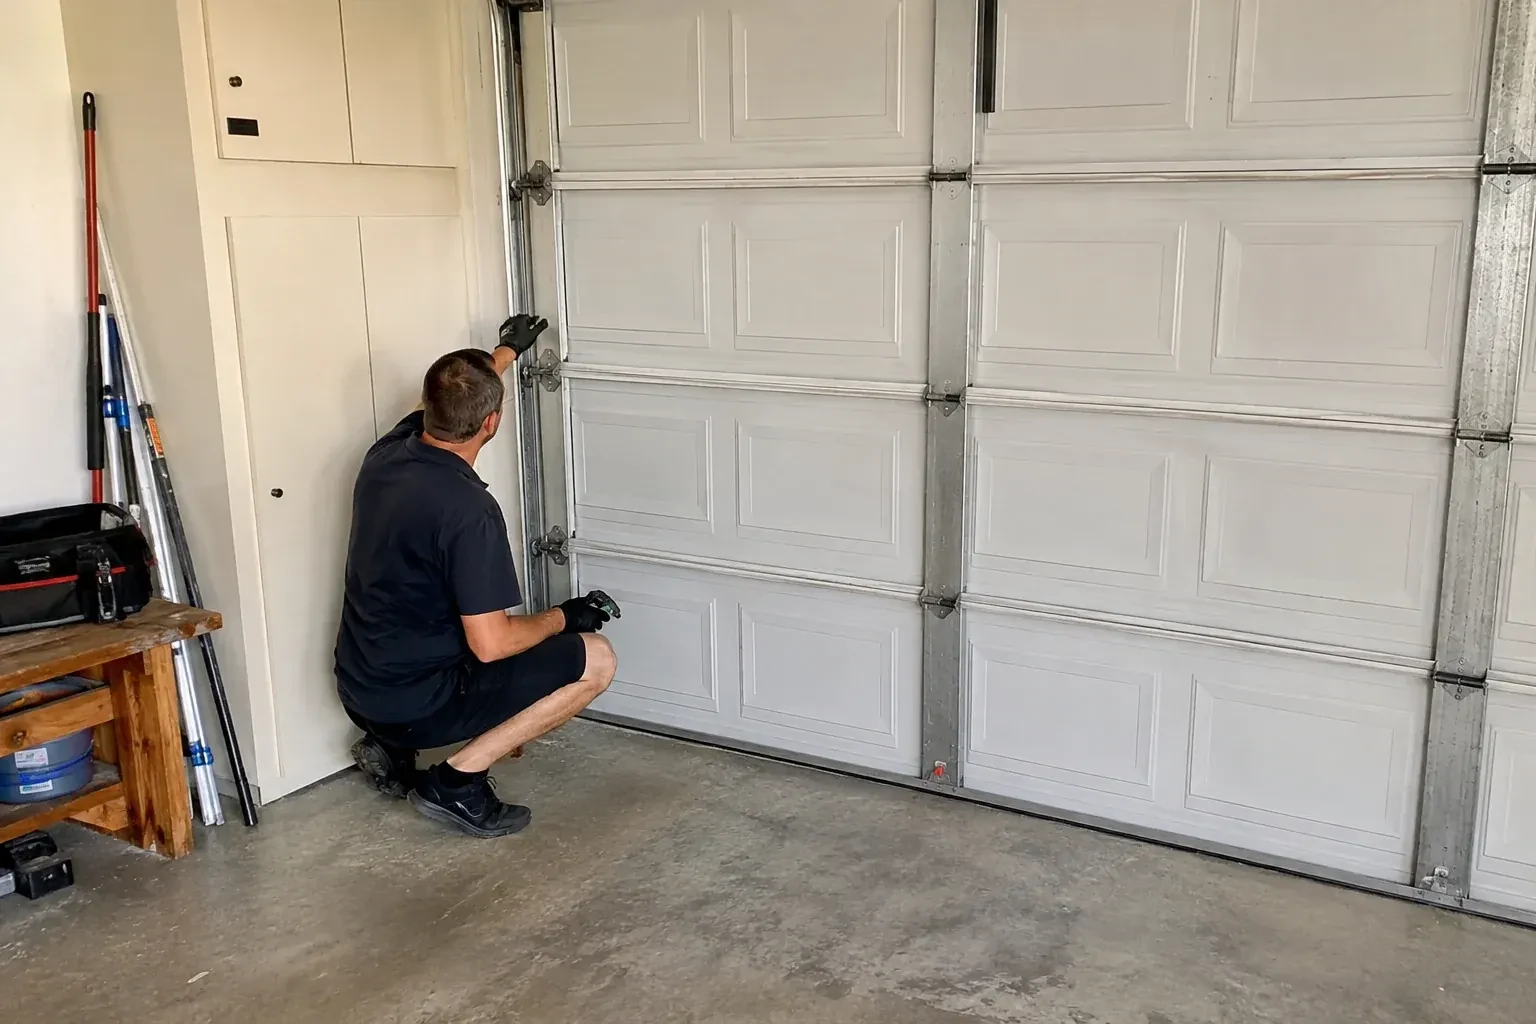
- Garage Door Tune-UpOn windy nights the door rattles in its frame, there is a line of daylight along one side, and the…
- Off-Track Garage Door ResetThere was a loud bang from the garage, then silence.
- Garage Door Panel ReplacementYou misjudged the last metre of the driveway and felt the bumper meet the door.
Garage Door Perimeter Weatherstrip near you
The list below is what a garage door technician in Mount Dennis actually does in a week: replaces springs and cables, resets doors that jumped the track, fixes and replaces openers, programs remotes and keypads, changes seals and rollers, tunes and balances doors, and installs new ones.